

Moss has a quiet way of softening a shelf. It brings green into small flats and dark corners, asks for very little, and looks good next to almost anything. That is the theory. In practice, plenty of moss shelves end up looking like a garden centre display that has been left to fend for itself: crowded, dusty, mismatched and slightly sad. None of these problems are hard to fix. Most come down to light, spacing and a few small decisions made once and then maintained. Here are the eight mistakes worth checking before you buy another pot.
1. Crowding the shelf until nothing stands out
This is the most common one. A shelf holding twelve objects reads as clutter, and the eye has nowhere to rest. Moss is a texture, not a statement, so it needs quieter neighbours and a bit of breathing room to do its job.
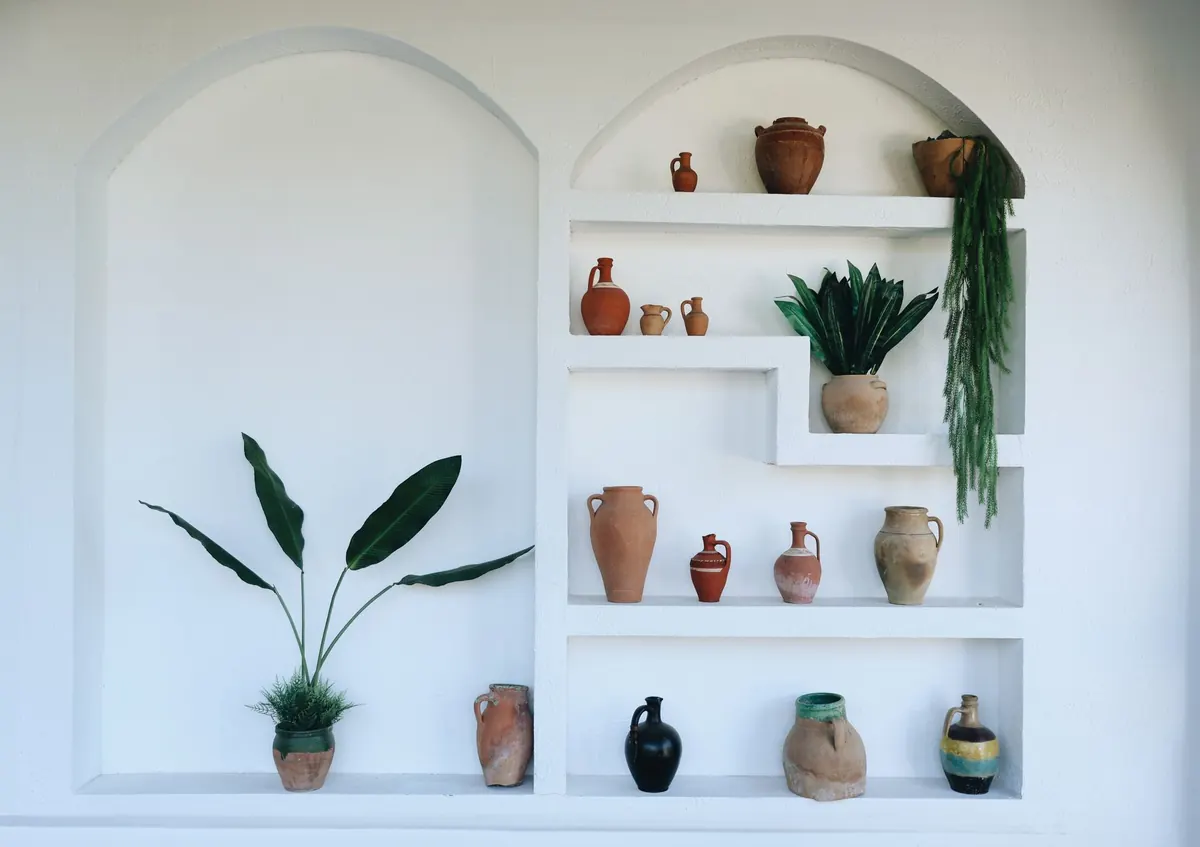
The fix is uncomfortable but effective: take everything off, then put back three pieces that you actually like. Add the moss last. As a rough guide, leave at least a third of the shelf length empty, and try to keep 8–10cm between pieces where the shelf allows. Group small items in odd numbers — three little pots together look intentional, four look accidental. If you can't decide what to remove, remove the item you'd notice least if it disappeared. That is usually the right answer.
2. Putting moss where the light doesn't suit it
Moss is not one thing, and the light in your room decides which kind will work. A south-facing sill with hours of direct sun will scorch live moss and fade the dyed colour out of preserved moss. A dim internal hallway shelf will slowly kill anything living, however carefully you water it.
Work with what you have rather than against it. In low light, preserved moss is the sensible choice — it needs no water and holds its shape — though keep it out of strong direct sun if you want the colour to last. For live moss, bright but indirect light is the goal, and a bathroom shelf near a window often suits it best because the air stays damper. If a plant is stretching pale and thin towards the window, move it closer. If it crisps at the edges, move it back.
3. Mixing too many containers, finishes and scales
A glass jar, a brass tray, a terracotta pot, a rattan basket and a white ceramic bowl on one shelf will fight each other, no matter how good each piece is alone. The moss disappears into the noise.
Choose two finishes and one accent, then stop. Useful pairings that rarely go wrong:
- Unglazed stoneware and clear glass, with one darker metal accent.
- Terracotta and pale wood, nothing shiny.
- Matte black and natural linen, with a single white piece.
- Recycled glass and aged brass, kept to one shelf only.
Scale matters as much as material. A tiny moss cushion in a wide bowl looks lost; the same moss in a pot roughly the same width as the plant looks settled. When in doubt, choose the smaller container — moss reads better slightly contained.
4. Choosing moss that fights the space
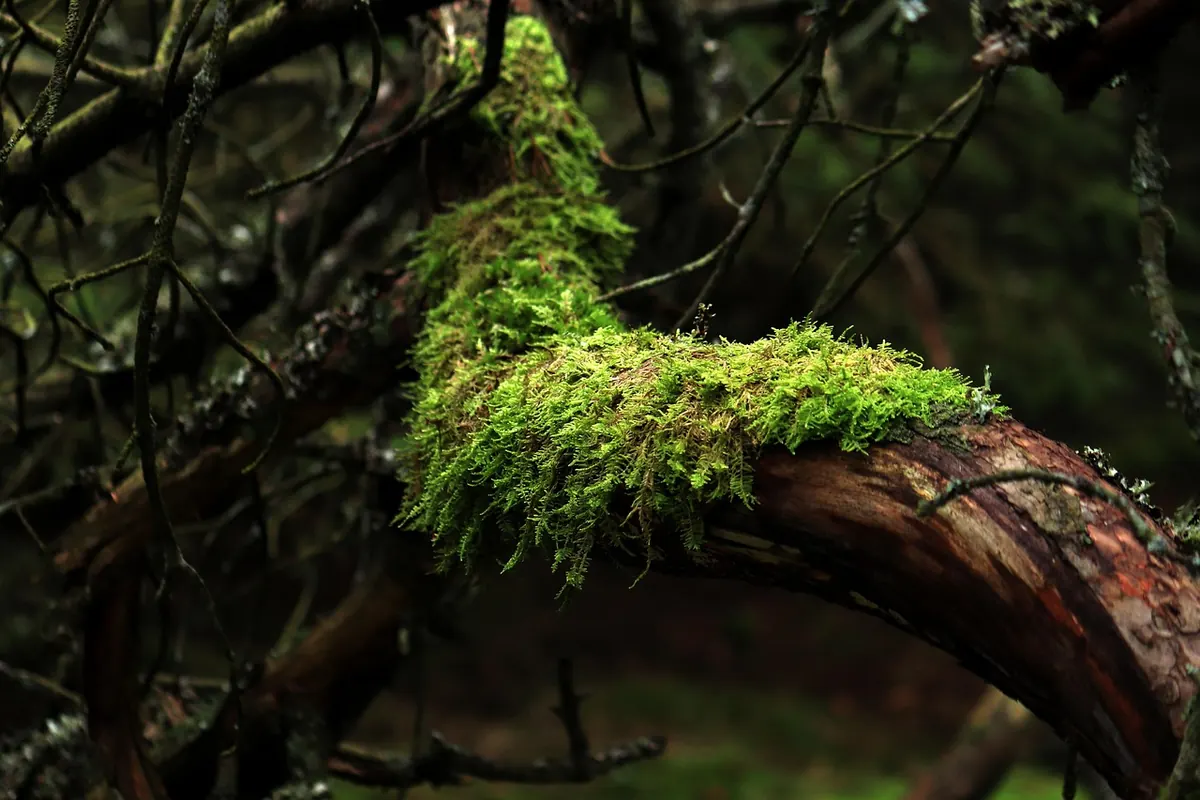
Not all moss behaves the same way. Flat sheet moss sits neatly over soil or foam and suits trays and low bowls. Cushion moss has a domed, tufty look that works in small round pots. Preserved reindeer moss is springy and bright but reads as a filler rather than a focal point. Sphagnum is best kept for lining, not display.
Match the texture to the container and the distance from the eye. Fine, dense moss looks good close up on a low shelf; chunkier textures hold their own higher up, where you see them from further away. If you are mixing two types, keep them in separate containers rather than blending them in one, unless you want a deliberately wild, collected look.
5. Styling everything at one height
When every object is the same size, a shelf looks like a row of tins. Depth and height are what make a display feel considered rather than arranged by accident.
Build the shelf in three layers
Put the tallest piece towards one end rather than the centre, and step down from there. Use a small stack of books or a low riser at the back so the moss sits slightly above the front row. Let one trailing element — a vine, a length of preserved moss — break the shelf line. And vary depth: push something right to the back wall, bring something else close to the front edge, and let the middle layer do the work. Two minutes of shuffling usually solves a shelf that feels flat.
6. Skipping the upkeep
Moss shelves fail quietly. Dust settles into the texture and dulls it, live moss dries out in a warm room, and sealed containers can grow mould if water sits at the bottom. None of it is dramatic; it just looks tired after a few months.
Keep it simple. Dust preserved moss with a soft dry brush rather than a cloth, which tends to drag at the strands. Check live moss weekly by pressing a finger into the surface — if it springs back, leave it; if it feels dry and crunchy, water lightly and let it drain. Never leave standing water in a closed container. If you spot fuzzy grey growth or a sour smell, remove the affected piece, air the container, and start again with less water. This is general care advice for decorative plants; if you have allergies, damp or respiratory concerns in the home, speak to a professional rather than guessing.
7. Copying a shelf from a photo — and forgetting what the shelf is for
Styled shelves in magazines are photographed in rooms with different light, different wall colours and often no actual storage needs. Copying one exactly rarely works. It can also crowd out the shelf's real job — holding the books, keys or paperwork that made you put a shelf there in the first place.
Decide the shelf's purpose first. If it is working storage, style the top third and leave the rest functional. If it is purely decorative, give the moss more room. Then borrow the idea from the photo rather than the objects: the layered heights, the restrained palette, the single accent colour. Test it against your own wall. A pale grey wall flatters soft greens; a warm cream wall makes bright reindeer moss look sharper.
A five-minute reset
If a shelf has stopped working, you do not need to start over. Try this once a month:
- Clear the shelf completely and wipe it down.
- Set aside anything you have not looked at in weeks.
- Choose three anchor pieces and one piece of moss.
- Vary the heights, then step back and check the gaps.
- Dust the moss, water live moss lightly if it needs it, and stop.
Good moss styling is less about buying the right thing and more about leaving space for it. Two or three considered objects, one type of moss, decent light and a clear surface will beat a crowded shelf every time.
Photo: Melike B / Pexels
Related posts
More stories you’ll love reading